Mounting a TV and Art Frames on the Wall
Introduction
Mounting a TV and art frames on the wall is an effective way to enhance the aesthetics and optimize space in your home. This approach not only organizes the space visually but also frees up floor area. However, to carry out this task correctly and safely, you need knowledge, the right tools, and attention to detail.
This guide walks you through the complete process of mounting TVs and art frames, including safety tips, design principles, and professional techniques.
Part One: Mounting a TV on the Wall
1. Benefits of Wall-Mounted TVs
- Saves space
- Reduces the risk of tipping or damage
- Creates a modern, clean look
- Allows better cable management
Mounting a TV and Art Frames on the Wall
2. Choosing the Right Location
Consider the following when selecting where to mount your TV:
- Viewing Height: The center of the screen should be at eye level when seated (about 110 cm / 43 inches from the floor).
- Lighting: Avoid placing the TV opposite windows or direct light sources to minimize glare.
- Access: Ensure easy access to power outlets and connection ports (HDMI, cable, etc.).
3. Selecting the Appropriate Wall Mount
There are three main types of mounts:
- Fixed: No movement, suitable for straightforward mounting.
- Tilting: Allows vertical angle adjustment, ideal for higher placements like above a fireplace.
- Full Motion (Articulating): Offers rotation and extension in multiple directions for flexible viewing angles.
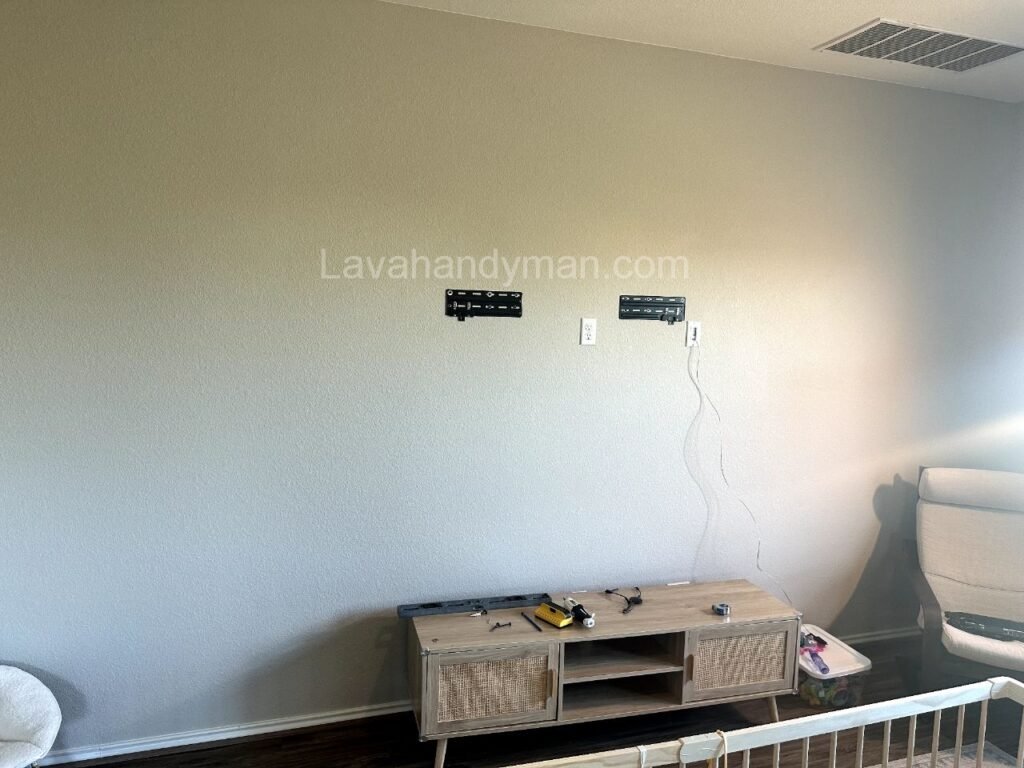
4. Required Tools and Equipment
- Drill
- Appropriate drill bits for your wall type
- Level (manual or laser)
- Measuring tape
- Screws, wall anchors (plugs), and screwdriver
- Pencil for marking
- Stud finder or cable detector to avoid electrical or plumbing lines
Mounting a TV and Art Frames on the Wall
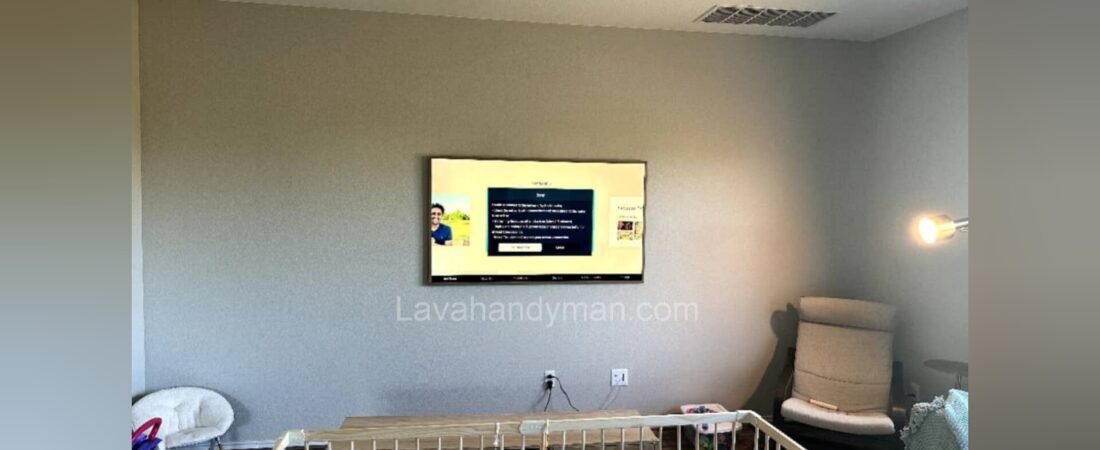
5. Installation Steps
Step 1: Select and mark the mounting location
Use a level and tape measure to find the perfect spot. Mark the center points for the mount.
Step 2: Drill holes
Hold the mount against the wall, mark the screw positions, and drill holes accordingly.
Step 3: Secure the mount
Insert wall anchors if needed and fix the mount tightly with screws.
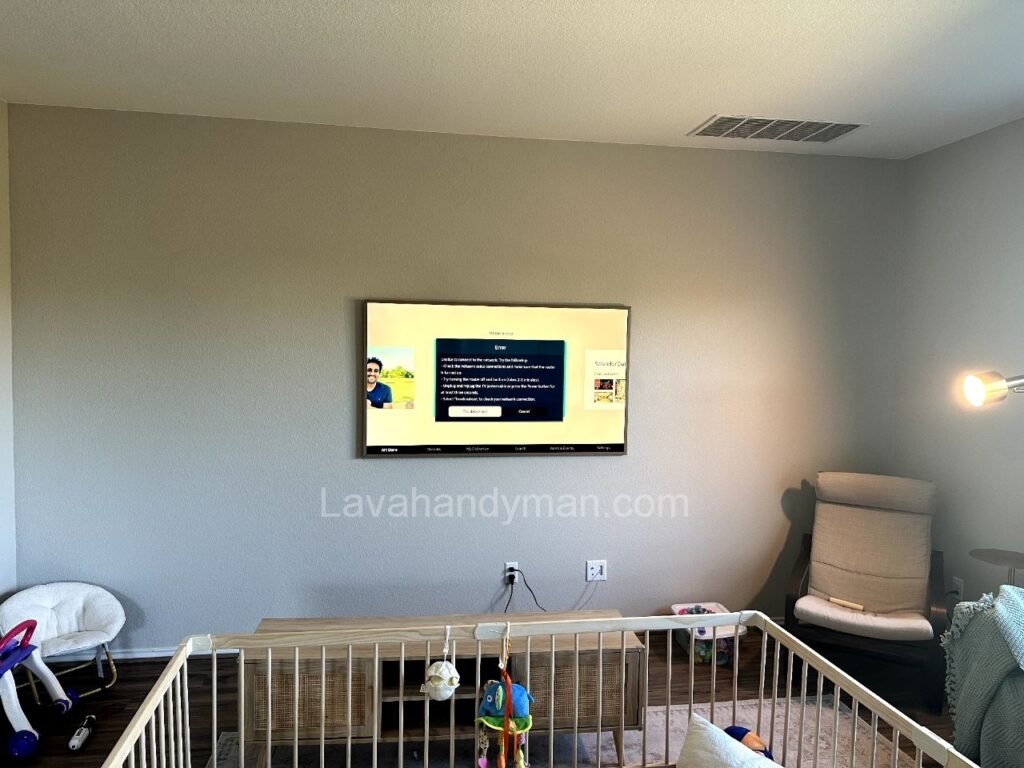
Step 4: Attach the TV
Fix the mounting brackets to the TV back and hang it on the wall mount securely.
Step 5: Conceal cables
Use cable covers or in-wall routing for a neat appearance.
Mounting a TV and Art Frames on the Wall
Part Two: Mounting Art Frames on the Wall
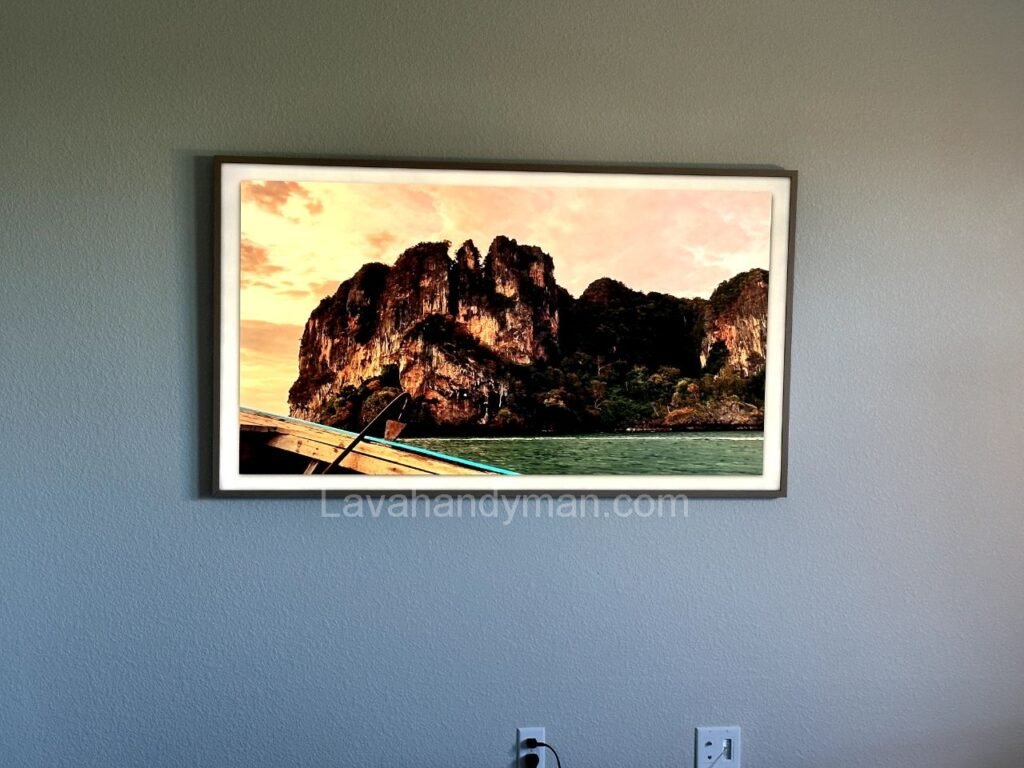
1. Choosing Art and the Right Position
Consider these points when hanging artwork:
- Height: The center of the frame should be about 145 cm (57 inches) from the floor.
- Relation to Furniture: If hanging above a sofa or table, keep about 20 cm (8 inches) of space between the furniture top and the frame.
- Lighting: Use focused lighting (spotlights or LED strips) to highlight the artwork.
2. Necessary Tools
- Hammer
- Picture hooks or nails
- Measuring tape and level
- Drill (for heavy frames)
- Pencil for marking
Mounting a TV and Art Frames on the Wall
3. Mounting Methods
- Simple nails/hooks: For light frames
- Screws with anchors: For heavier pieces
- Strong adhesive hooks: For fragile walls
- Rail systems: Professional choice for easy repositioning
4. Installation Process
- Determine placement
Pick the height and spot considering your room’s layout. - Measure and mark
Mark the frame’s center and hook positions using a level. - Install hooks or nails
Choose the method depending on frame weight and wall type. - Hang the frame
Place the artwork carefully and check with a level to ensure it’s straight.
Mounting a TV and Art Frames on the Wall
Part Three: Combining TV and Art in One Wall Design
In modern interiors, TVs and artwork often share a wall. To harmonize them:
- Use frames with colors matching the TV or room palette.
- Arrange artwork symmetrically around the TV.
- Maintain a distance of 20-30 cm (8-12 inches) between the TV and the nearest frame.
Popular Frame Arrangements:
- Gallery Wall: Multiple frames of various sizes arranged cohesively.
- Grid Layout: Uniform frames spaced evenly.
- Minimalist Style: One or two simple large frames with thin borders.
Part Four: Understanding Different Wall Types
1. Drywall (Gypsum Board)
- Suitable for light frames.
- For TVs, mounts must be secured into studs behind drywall.
2. Brick or Concrete Walls
- Ideal for heavy items.
- Require special masonry drill bits and anchors.
3. Wooden or MDF Walls
- Easier mounting but check thickness and strength.
- May need reinforcement for heavy frames or TVs.
Mounting a TV and Art Frames on the Wall
Part Five: Safety and Technical Tips
- Always check walls with a stud finder or cable detector before drilling.
- Match the mount and hooks to the weight of the TV or artwork.
- Hide cables safely, especially if you have children or pets.
- For delicate walls, use no-drill mounting options such as adhesive hooks.
Part Six: Common Mistakes and How to Avoid Them
| Mistake | Consequence | Solution |
|---|---|---|
| Mounting at wrong height | Neck or eye strain | Follow standard height guidelines |
| Drilling without checking inside wall | Damage to wires or pipes | Use a wall scanner before drilling |
| Using improper mounts | Unstable installation or fall | Choose mounts suitable for weight and wall type |
| Using wrong tools | Wall damage or loose mounts | Use correct tools and anchors |
Mounting a TV and Art Frames on the Wall
Types of TV Wall Mounts
There are generally three main types of mounts used for wall-mounting TVs, each with specific features and applications:
- Fixed Mount
- Simple installation with no movement
- Ideal for TVs with a fixed viewing angle
- Minimalist and low-profile design
- Cost-effective and suitable for standard height mounting
Mounting a TV and Art Frames on the Wall
- Tilt Mount
- Allows vertical angle adjustment (tilting up or down)
- Perfect for mounting TVs higher than eye level (e.g., above a fireplace)
- Helps reduce glare and improves viewing angle
- Full Motion (Articulating) Mount
- Enables rotation left/right, extension forward/backward, and tilt up/down
- Ideal for flexible spaces with multiple viewing positions
- Allows customized viewing angles for the best experience
Mounting a TV and Art Frames on the Wall
Important Tips for Choosing a Mount:
Build quality and weight capacity of the mount
Compatibility with TV weight and size
Suitability for wall type (drywall, brick, wood)
Mounting a TV and Art Frames on the Wall
Proper Lighting for Wall Art
Correct lighting enhances the appearance of artwork by showcasing colors and details vividly. To achieve professional lighting for wall-mounted art, follow these guidelines:
- Focused and Direct Light
Use spotlight LEDs or halogen lamps with narrow beams to direct light precisely onto the artwork, ensuring colors appear clear and vibrant. - Lighting Angle
Position the light at a 30 to 45-degree angle relative to the wall to minimize unwanted shadows and glare reflections. - Color Temperature
The ideal color temperature for art lighting is between 3000K and 4000K (warm to neutral white), which renders colors naturally and vividly. - Adjustable Light Intensity
Light should be bright enough for clear visibility but not so intense that it causes glare or damages the artwork. Dimmable lights allow fine control over brightness. - Avoid Shadows and Reflections
Set the lighting to prevent sharp shadows or glare on glass or canvas surfaces. - Use Picture Lights
Specialized picture lights designed to mount above or around the frame provide an elegant and effective way to highlight artworks.
Mounting a TV and Art Frames on the Wall
Additional Tips
Use UV-free bulbs to prevent gradual damage to the artwork’s colors and materials.
In spaces with abundant natural light, supplement with artificial lighting to maintain balanced illumination.
Combining general room lighting with focused art lighting enhances the overall impact, especially in larger spaces or galleries.
Mounting a TV and Art Frames on the Wall
Proper Method for Hanging Wall Art
- Choose the Right Location
The ideal height for the center of the artwork is about 145 to 150 cm (57–59 inches) from the floor. Select the spot considering lighting and room decor. - Measure and Mark Precisely
Use a measuring tape and level to mark the exact spot for nails or screws. For frames with hooks or hanging wires, measure the distance between attachment points. - Select Appropriate Tools
Mounting a TV and Art Frames on the Wall
- For light frames: simple nails or hooks suffice.
- For heavy frames: screws with wall anchors (plugs) are recommended to support the weight.
- Drill Holes if Needed
For drywall or brick walls and heavy frames, drill holes matching the size of the wall anchors. - Install Anchors and Screws or Hooks
Insert anchors into the holes and securely fix screws or hooks. - Hang the Frame and Level It
Place the frame on the hooks and use a level to ensure it is perfectly straight.
Mounting a TV and Art Frames on the Wall
Key Tips
Take extra care when hanging glass-fronted frames to avoid damage.
Always choose tools suitable for the frame’s weight.
Use nail or hook protectors to prevent wall damage.
Conclusion
Properly mounting your TV and art frames not only improves your space’s functionality but also elevates its style. By following technical guidelines, choosing the right tools, and considering design principles, you can achieve a cohesive, modern, and safe setup.
At LavaHandyman.com, we don’t just help you understand TV tech — we also offer expert TV installation services, making sure your home entertainment setup looks and performs at its best.
📞 Need Help?
Let us take care of the hard work while you sit back and relax.
📍 Serving: Austin, Round Rock, Cedar Park & more
📱 Call or Text: (737) 420-6992
🌐 Visit: https://lavahandyman.com