A Comprehensive Guide to Installing a Full-Length Mirror at High Elevation
Introduction
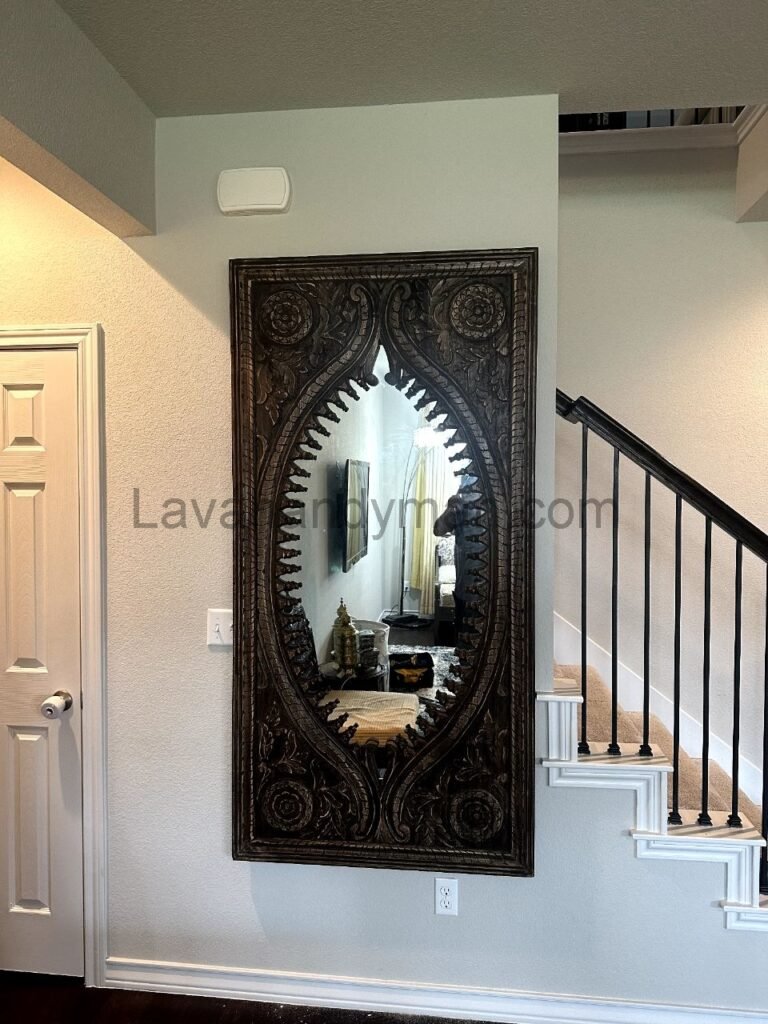
Installing a full-length mirror at a high elevation not only enhances aesthetics but also plays a crucial role in creating a sense of space, improving lighting, and adding decorative appeal. However, this process requires precision, specialized tools, and strict adherence to safety standards. This article provides a step-by-step guide from mirror selection to safe and professional installation.
Choosing the Right Mirror
- Dimensions and Proportions
- A mirror measuring 180–220 cm in height and 60–80 cm in width is ideal for full-body reflection.
- Recommended thickness: 5–8 mm, especially important for elevated installations.
- Framed or Frameless?
- Frameless mirrors are lighter but require more accurate mounting.
- Framed mirrors (wooden or metal) offer more structural integrity but add weight.
- Safety and Glass Type
- Use laminated or safety-backed mirrors (e.g., PVC film) for elevated placement.
- Tempered or reinforced mirrors reduce the risk of injury if broken.
A Comprehensive Guide to Installing a Full-Length Mirror at High Elevation

Tools and Equipment Required
- Technical Tools: Drill, masonry bit, anchors, spirit level or laser level, measuring tape, brackets or heavy-duty hooks
- Safety Gear: Ladder or scaffold, cut-resistant gloves, safety goggles, safety harness (for high elevations)
- Mounting Supplies: Heavy-duty wall plugs, safety wire or cable, silicone adhesive, decorative screw caps
Site Assessment and Preparation
- Wall Type:
- Concrete or brick walls are ideal. For drywall or gypsum, reinforcements may be needed.
- Check for moisture or hidden wiring/pipes before drilling.
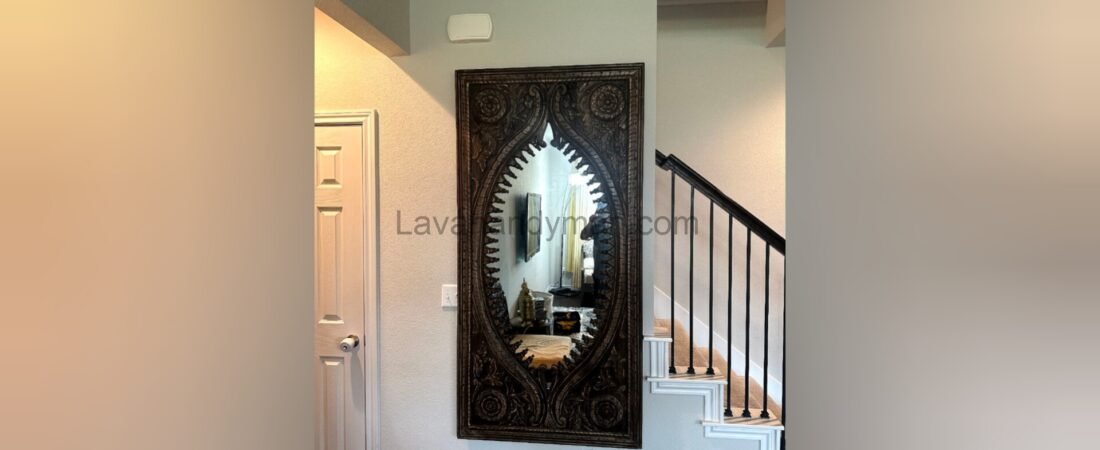
- Recommended Mounting Height:
- The center of the mirror should be about 110–120 cm from the floor unless used purely for decoration.
- Use a level to ensure proper alignment.
A Comprehensive Guide to Installing a Full-Length Mirror at High Elevation
Step-by-Step Installation Process
- Precise Marking:
- Use a tape measure and level to mark bracket positions accurately.
- Drilling and Anchor Placement:
- Drill holes (at least 6 cm deep), insert wall plugs, and secure screws tightly.
- Mounting the Mirror:
- With help, position the mirror onto brackets and check for levelness.
- For heavier mirrors, secure both top and bottom mounting points.
- Installing a Safety Cable:
- Attach a safety cable from the top of the mirror to the wall or ceiling to prevent falls during impact or earthquakes.
- Final Inspection:
- Check all screws, supports, and cable stability. Install screw caps for a finished look.
Safety Tips for High Elevation Installations
- Always use a stable ladder or professional scaffolding.
- Never work alone—have a second person assist you.
- Use safety cables for all elevated mirrors.
- For mirrors over 20 kg or installations above 3 meters, hire a professional.
A Comprehensive Guide to Installing a Full-Length Mirror at High Elevation
Common Issues and Solutions
| Issue | Cause | Solution |
|---|---|---|
| Crooked installation | No level used | Always use a laser or spirit level |
| Loose screws | Vibration or poor anchoring | Regular check-ups and use of lock nuts |
| Mirror breakage | Improper support or impact | Use safety-backed glass and support cables |
| Wall moisture | Poor ventilation or wet area | Use waterproof sealants and ventilate properly |
Visual and Psychological Impact of High Mirror Placement
- Brighter space: Reflects natural and artificial light
- Illusion of space: Creates depth and vertical visual flow
- Aesthetic enhancement: Aligns with tall decor like chandeliers and large windows
- Luxurious appeal: Tall, elevated mirrors bring a modern and elegant touch
A Comprehensive Guide to Installing a Full-Length Mirror at High Elevation
Final Thoughts and Recommendations
Installing a full-length mirror at height is a delicate and professional task. Ensure success by:
- Choosing the right mirror (size, thickness, safety features)
- Using proper tools and precise leveling
- Securing the mirror with brackets and a safety cable
- Following safety guidelines when working at height
- Performing periodic inspections post-installation
For heavy or complex projects, always consult a professional installer.
Tools and Equipment for Installing a Full-Length Mirror
Proper installation of a full-length mirror—especially at high elevation—requires precision, the right tools, and attention to safety. Below is a categorized list of all essential equipment:
🛠 Technical Tools
- Drill (standard or hammer): For making holes in the wall
- Wall-appropriate drill bits: Masonry, wood, or metal bits depending on wall or frame material
- Strong screws and wall plugs (anchors): For secure mounting
- Brackets or metal hooks: To hold the mirror in place
- Spirit level or laser level: To ensure straight, even installation
- Measuring tape (manual or laser): For precise measurements
- Silicone adhesive or mirror glue (optional): For extra support
🧰 Safety Gear
- Stable ladder or scaffolding: For accessing higher areas
- Cut-resistant gloves: To protect your hands during handling
- Safety goggles: To shield eyes from dust during drilling
- Safety harness: Recommended for work at significant height
A Comprehensive Guide to Installing a Full-Length Mirror at High Elevation
🔩 Mounting Accessories
- Safety cable or wire: To secure the mirror from the top and prevent falling
- Foam pads or anti-vibration strips: To cushion the back and reduce pressure or movement
- Decorative screw covers: For a clean, finished look
- Masking tape or marking tape: For marking drill points before installation
🧼 Cleaning Supplies
- Microfiber cloth: For a streak-free, scratch-free finish
- Glass cleaner: To polish the mirror after installation
A Comprehensive Guide to Installing a Full-Length Mirror at High Elevation
✅ Final Checklist
| Category | Items |
|---|---|
| Installation Tools | Drill, bits, screws, anchors, tape measure, level |
| Support Hardware | Brackets, hooks, glue |
| Safety | Ladder, gloves, goggles, harness |
| Stabilization | Safety cable, foam pads, screw covers |
| Cleaning | Microfiber cloth, glass cleaner |
✅ Best Wall Types for Installing a Full-Length Mirror:
Choosing the right wall is essential for safe and stable mirror installation. The wall’s material directly affects the mirror’s security and durability. Below is a guide to different wall types and how to properly install mirrors on each:
1. Concrete or Cement Wall (Reinforced or Block Wall)
🔹 The safest and most recommended option for heavy mirrors
🔸 Requires a hammer drill with masonry bits
🔹 Use heavy-duty anchors and screws
🔸 Provides strong support with minimal vibration risk
A Comprehensive Guide to Installing a Full-Length Mirror at High Elevation
2. Brick Wall
🔹 A reliable option if drilling is done correctly
🔸 Avoid drilling into mortar lines (between bricks)
🔹 Use wall plugs and screws designed for brick
🔸 It’s best to add a safety cable for extra protection
⚠️ Wall Types Requiring Caution
3. Drywall or Plasterboard (e.g., gypsum or false walls)
🔸 Least suitable for mounting heavy mirrors
⚠️ High risk of cracking or falling
🔹 Solutions:
- Use reinforcement plates or metal studs behind the wall
- Use toggle bolts or butterfly anchors
- Prefer lightweight mirrors
- Secure the top of the mirror with a safety wire to the ceiling or side wall
A Comprehensive Guide to Installing a Full-Length Mirror at High Elevation
4. Wooden or Laminated Walls
🔹 Feasible if the wood panel is solid and properly supported
🔸 Use wood screws and sturdy brackets
🔹 For large mirrors, consider extra support from the floor or ceiling
5. Tiled Walls (e.g., bathroom, hallway)
🔸 Installation is possible but requires precision
🔹 Drill slowly using glass/ceramic bits, with light pressure
🔸 Recommendation: use waterproof mirror adhesive + anchor screws for extra safety
A Comprehensive Guide to Installing a Full-Length Mirror at High Elevation
🚫 Wall Types to Avoid
| Wall Type | Reason |
|---|---|
| Damp or humid walls | Risk of adhesive failure and bracket corrosion |
| Cracked or damaged walls | Can’t safely support weight; risk of collapse |
| Hollow partitions without reinforcements | Prone to breaking or mirror detachment |
📏 Guide to Choosing the Right Size for a Full-Length Mirror Installation:
Selecting the appropriate dimensions for a full-length mirror directly affects its functionality, aesthetics, and safety. The mirror size should be matched to the space’s use, installation height, and the wall or floor dimensions.
A Comprehensive Guide to Installing a Full-Length Mirror at High Elevation
✅ 1. Selection Based on Usage
| Usage Type | Recommended Height | Recommended Width |
|---|---|---|
| Everyday use (clothing, grooming) | 160–180 cm (63–71 in) | 50–70 cm (20–28 in) |
| Decorative and luxury (living room, lobby) | 200–220 cm (79–87 in) | 70–90 cm (28–35 in) |
| Gym, fitness center, or boutique | 180–220 cm (71–87 in) | 100+ cm (39+ in) for wider view |
| Installation at height (e.g., behind sofa, long corridor) | 120–160 cm (47–63 in) | 40–60 cm (16–24 in) narrow and lighter |
✅ 2. Proportions Relative to the Space
- The mirror size should be proportional to the room and wall dimensions:
↳ In small rooms, narrow and tall mirrors create a sense of spaciousness
↳ On large walls, bigger or multi-panel mirrors look more elegant - When installing floor-to-ceiling mirrors, leave about 20–30 cm (8–12 in) from the floor to maintain visual balance
✅ 3. Standard Mirror Thickness
| Mirror Height | Recommended Thickness |
|---|---|
| Under 160 cm (63 in) | 4–5 mm (0.16–0.20 in) |
| 160–200 cm (63–79 in) | 5–6 mm (0.20–0.24 in) |
| Above 200 cm (79 in) | 6–8 mm (0.24–0.31 in) |
Thicker mirrors offer better resistance to breakage and vibrations, especially when installed at height.
A Comprehensive Guide to Installing a Full-Length Mirror at High Elevation
✅ 4. Mirror Weight and High-Height Installation
- Mirrors taller than 180 cm (71 in) typically weigh over 15 kg (33 lbs)
- Installing mirrors above 2.5 meters (8 feet) requires:
- Strong metal brackets
- Safety cables for support
- Heavy-duty anchors and a solid wall
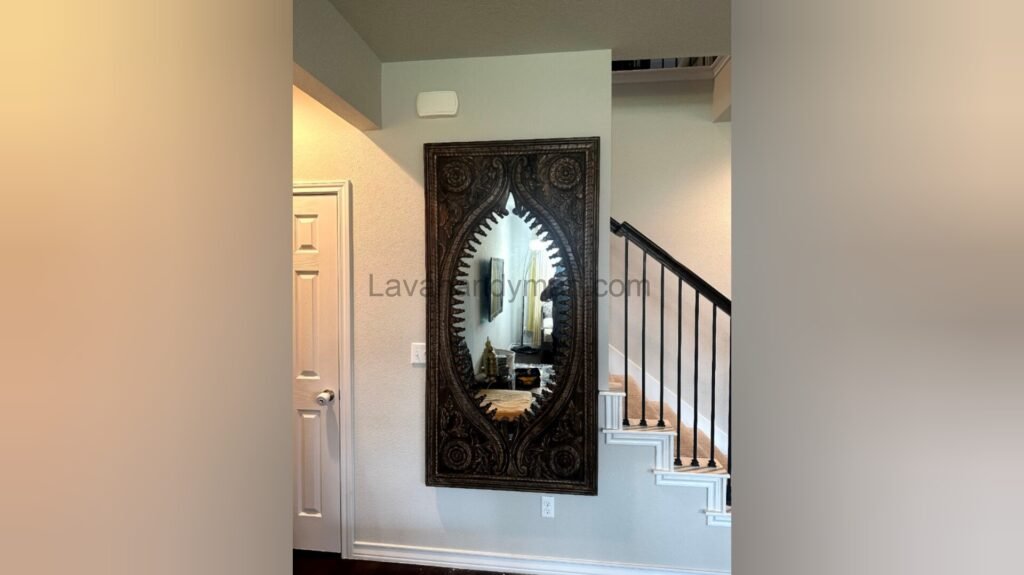
✅ 5. Mirror Shape
Multi-panel (modular): Great for wide walls or modern decor
Rectangular (vertical): Best for full-length viewing
Oval or curved: Suitable for classic or decorative styles
At LavaHandyman.com, we don’t just help you understand TV tech — we also offer expert TV installation services, making sure your home entertainment setup looks and performs at its best.
📞 Need Help?
Let us take care of the hard work while you sit back and relax.
📍 Serving: Austin, Round Rock, Cedar Park & more
📱 Call or Text: (737) 420-6992
🌐 Visit: https://lavahandyman.com