
Looking for an easy and quick way to hang wall art? This time-lapse video shows a complete wall decor installation – from choosing the right artwork to mounting it perfectly on your wall!
🎥 Time-Lapse Wall Art Installation from Start to Finish
Time-Lapse Wall Art Installation
Step-by-Step Wall Art Hanging Process:
✅ 1. Choose the Right Artwork
Pick a piece that fits your space and style — minimalist, modern, abstract, typography, or even a personal photo.
✅ 2. Mark the Spot
Use a measuring tape, level, and painter’s tape to find the perfect position. Aim for eye-level and balanced spacing.
✅ 3. Gather Your Tools
Depending on your wall type (drywall, concrete, brick), you may need:
- Power drill
- Anchors & screws
- Strong adhesive strips or no-drill hanging tools
✅ 4. Install the Frame
The time-lapse captures the full installation process in seconds:
- Drilling or prepping the surface
- Attaching hooks or adhesives
- Hanging and adjusting the frame
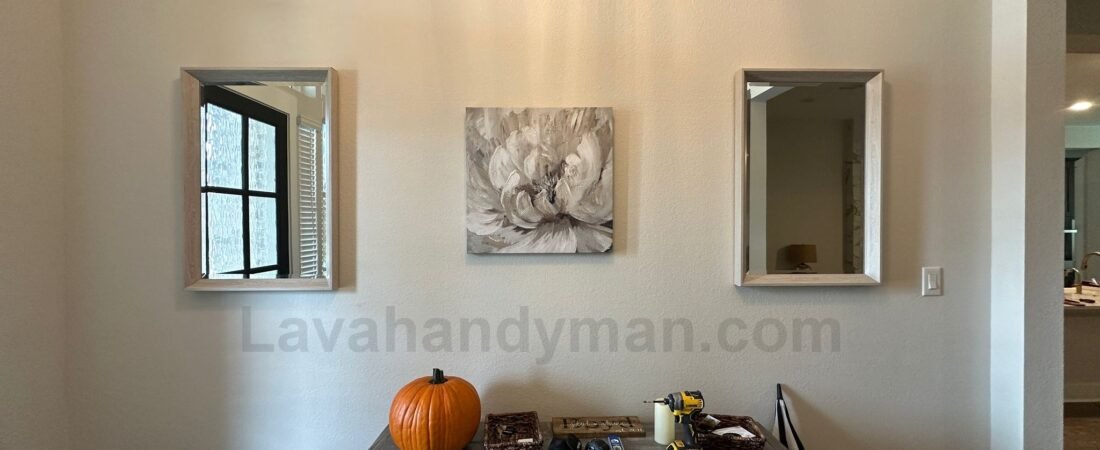
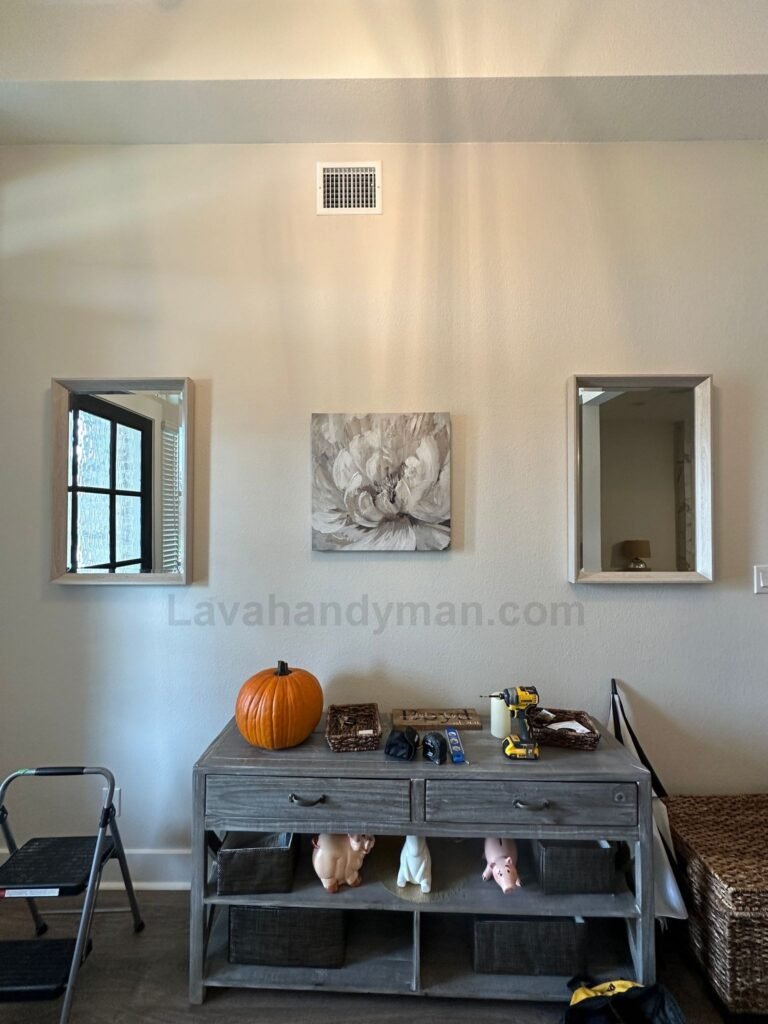
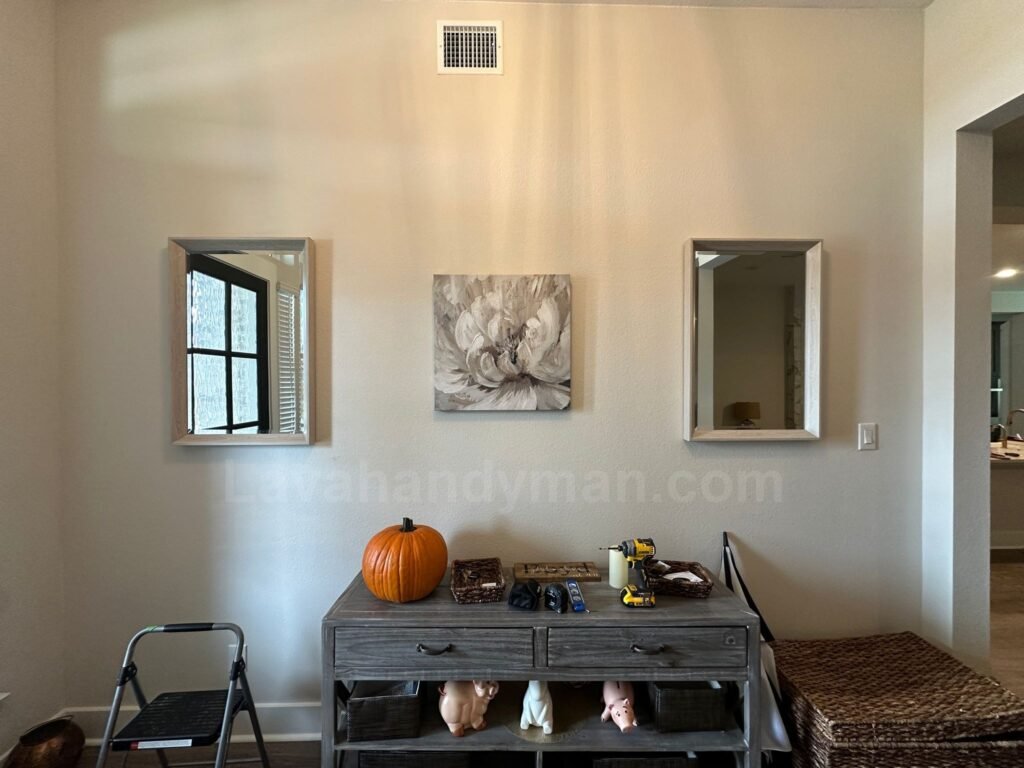
✅ 5. The Final Look
In just a few minutes, you’ll see a stunning transformation. Simple wall art can completely change the vibe of your room.
🎥 Time-Lapse Wall Art Installation from Start to Finish
🪜 Step-by-Step Process:
1. Plan Ahead
- Decide your camera angle (frontal, corner, overhead).
- Have all your tools and artwork ready so you can work smoothly.
2. Set Up the Camera
- Secure your phone or camera on a tripod or fixed mount.
- Make sure it won’t shake or move during the process.
- Activate the Time-Lapse mode on your device.
3. Start Recording
- Begin filming before you actually start installing — capturing setup can add interest.
- Try not to block the camera view too much with your body while working.
4. Install Your Art
- Follow your layout or grid design and begin hanging the pieces.
- If you’re doing a gallery wall or multiple pieces, spacing and symmetry go a long way visually.
5. Wrap It Up
- Once everything is in place, stand back and leave the shot running for a few seconds.
- Stop recording, review the footage, and move on to editing if needed.
🎥 Time-Lapse Wall Art Installation from Start to Finish
✨ Creative Tips to Make Your Video Pop:
- Add a fun, upbeat soundtrack.
- Include a Before & After moment.
- Use text overlays like “Installation Day” or “Wall Makeover in 60 Seconds”.
- Add zoom-in or pan effects to highlight the details.
🧰 Tools & Equipment You’ll Need:
- A smartphone or camera with Time-Lapse mode
- Tripod or mount to keep your device stable
- Good lighting (natural light or room lights)
- Optional: Editing software (InShot, CapCut, Premiere, etc.)
Time-Lapse Wall Art Installation
📌 Why Time-Lapse Wall Art Installation Makes Great Content
- Fast, fun, and informative
- Ideal for Instagram Reels, YouTube Shorts, Pinterest, or TikTok
- A perfect visual guide for DIY lovers and home decor fans
For expert maintenance services, visit Lavahandyman.com. They offer reliable TV and home appliance services across the U.S., with a team of certified technicians ready to help.
📞 Need Help?
Let us take care of the hard work while you sit back and relax.
📍 Serving: Austin, Round Rock, Cedar Park & more
📱 Call or Text: (737) 420-6992
🌐 Visit: https://lavahandyman.com